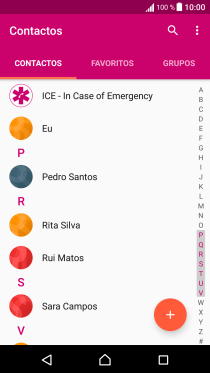
1. Procure "Contactos"
Prima Contactos.


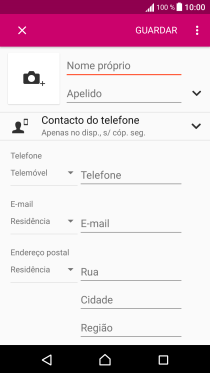
2. Crie um contacto
Prima o ícone de novo contacto.


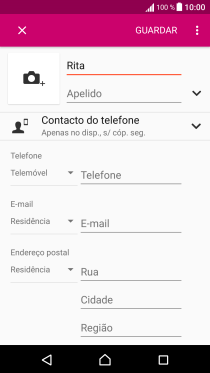
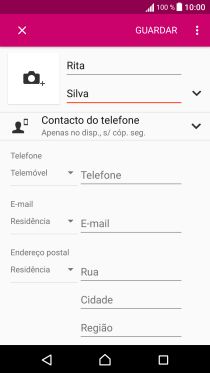
3. Introduza o nome
Prima Nome próprio e introduza o nome próprio.


3. Introduza o nome
Prima Apelido e introduza o apelido.


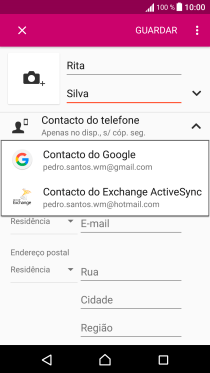
4. Escolha a lista de contactos
Prima a lista suspensa da lista de contactos.


4. Escolha a lista de contactos
Prima Contacto do telefone.
5. Introduza o número de telefone
Prima Telefone e introduza o número de telefone pretendido.


6. Guarde o contacto
Prima GUARDAR.


7. Volte ao ecrã inicial
Prima a tecla de início para terminar e voltar ao ecrã inicial.
1. Procure "Contactos"

2. Crie um contacto
3. Introduza o nome
4. Escolha a lista de contactos
5. Introduza o número de telefone
6. Guarde o contacto

7. Volte ao ecrã inicial