


1. Procure "Tipo de bloqueio do ecrã"
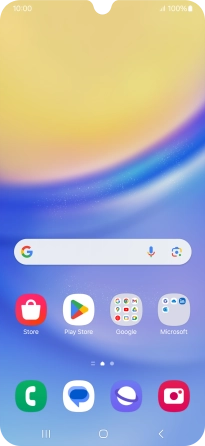
Deslize dois dedos sobre o ecrã de cima para baixo a partir do topo do ecrã.


1. Procure "Tipo de bloqueio do ecrã"
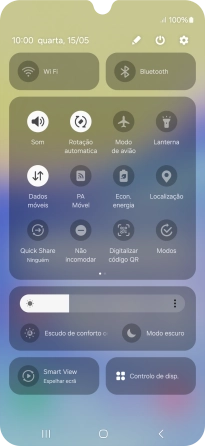
Prima o ícone de definições.


1. Procure "Tipo de bloqueio do ecrã"
Prima Ecrã bloqueado.


1. Procure "Tipo de bloqueio do ecrã"
Prima Tipo de bloqueio do ecrã.


2. Defina uma impressão digital como código de bloqueio do telefone
Prima Impressões digitais.


2. Defina uma impressão digital como código de bloqueio do telefone
Prima Continuar.


2. Defina uma impressão digital como código de bloqueio do telefone
Prima Seguinte.


2. Defina uma impressão digital como código de bloqueio do telefone
Prima o código de bloqueio do telefone pretendido e siga as indicações no ecrã para estabelecer um código de bloqueio adicional.


2. Defina uma impressão digital como código de bloqueio do telefone
Siga as indicações no ecrã para definir a impressão digital como código de bloqueio.


2. Defina uma impressão digital como código de bloqueio do telefone
Prima Concluir.


2. Defina uma impressão digital como código de bloqueio do telefone
Prima Concluir.


2. Defina uma impressão digital como código de bloqueio do telefone
Prima as definições pretendidas para as ativar ou desativar.
2. Defina uma impressão digital como código de bloqueio do telefone
Prima a tecla de retrocesso.


3. Desative o uso do código de bloqueio do telefone
Prima Tipo de bloqueio do ecrã e introduza o código adicional de bloqueio do telefone que criou anteriormente.


3. Desative o uso do código de bloqueio do telefone
Prima Nenhum.


3. Desative o uso do código de bloqueio do telefone
Prima Remover dados.


3. Desative o uso do código de bloqueio do telefone
Prima Remover.


4. Volte ao ecrã inicial
Prima a tecla de início para terminar e voltar ao ecrã inicial.
1. Procure "Tipo de bloqueio do ecrã"


2. Defina uma impressão digital como código de bloqueio do telefone


3. Desative o uso do código de bloqueio do telefone


4. Volte ao ecrã inicial
