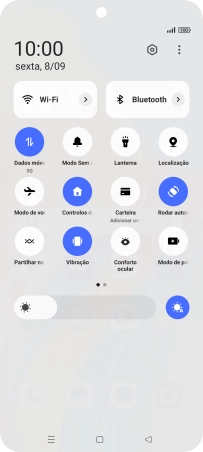
1. Procure "Nomes dos pontos de acesso"
Deslize dois dedos sobre o ecrã de cima para baixo a partir do topo do ecrã.


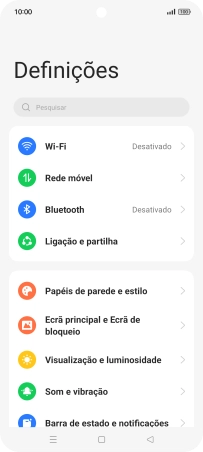
1. Procure "Nomes dos pontos de acesso"
Prima o ícone de definições.


1. Procure "Nomes dos pontos de acesso"
Prima Rede móvel.


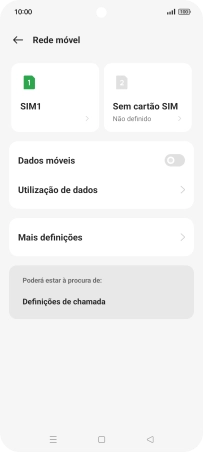
1. Procure "Nomes dos pontos de acesso"
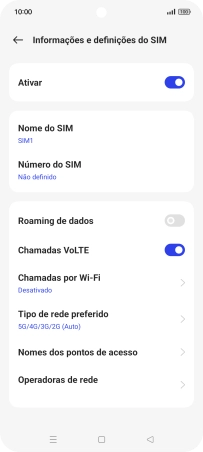
Prima o nome do cartão SIM.


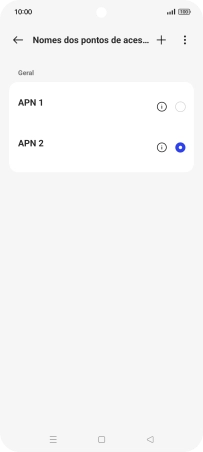
1. Procure "Nomes dos pontos de acesso"
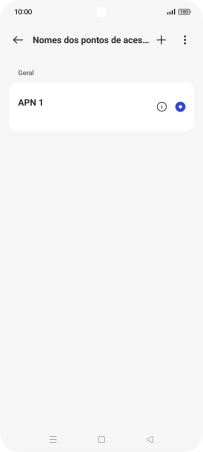
Prima Nomes dos pontos de acesso.


2. Estabeleça uma nova ligação de dados
Prima o ícone de nova ligação de dados.


2. Estabeleça uma nova ligação de dados
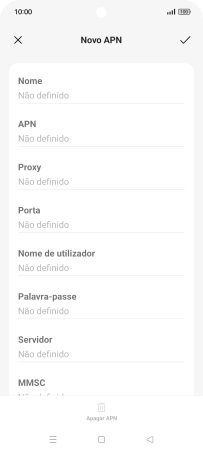
Prima o campo sob "Nome" e introduza Vodafone Internet.
3. Introduza o nome do ponto de acesso (APN)
Prima o campo sob "APN" e introduza net2.vodafone.pt.
4. Introduza o nome de utilizador
Prima o campo sob "Nome de utilizador" e introduza vodafone.
5. Introduza a palavra-passe
Prima o campo sob "Palavra-passe" e introduza vodafone.


6. Introduza o código de país
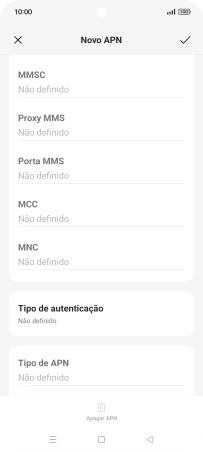
Prima o campo sob "MCC" e introduza 268.
7. Introduza o código de rede
Prima o campo sob "MNC" e introduza 01.
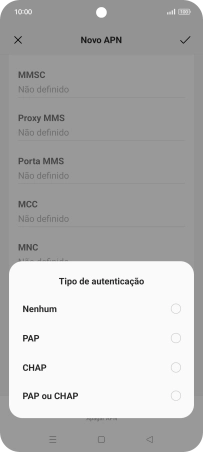
8. Escolha o tipo de autenticação
Prima Tipo de autenticação.


8. Escolha o tipo de autenticação
Prima Nenhum.
9. Introduza o tipo de APN
Prima Tipo de APN e insira default.
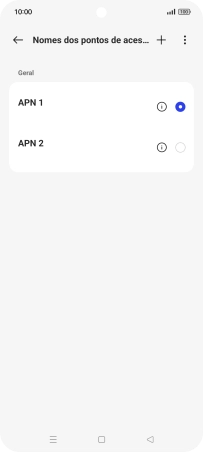
10. Guarde a ligação de dados
Prima o ícone para guardar.


10. Guarde a ligação de dados
Prima o campo junto à ligação de dados para a ativar.


11. Volte ao ecrã inicial
Prima a tecla de início para terminar e voltar ao ecrã inicial.
1. Procure "Nomes dos pontos de acesso"

2. Estabeleça uma nova ligação de dados
3. Introduza o nome do ponto de acesso (APN)
4. Introduza o nome de utilizador
5. Introduza a palavra-passe
6. Introduza o código de país
7. Introduza o código de rede
8. Escolha o tipo de autenticação
9. Introduza o tipo de APN
10. Guarde a ligação de dados
11. Volte ao ecrã inicial