


1. Abra a lista de contactos
Prima o ícone de lista de contactos.


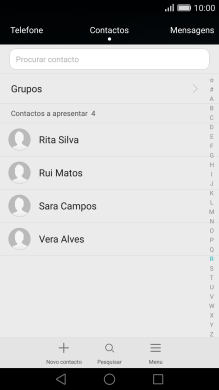
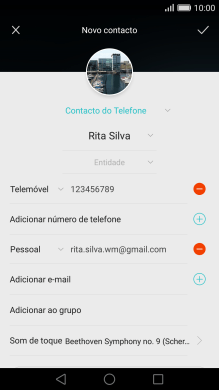
2. Crie um contacto
Prima o ícone de novo contacto.


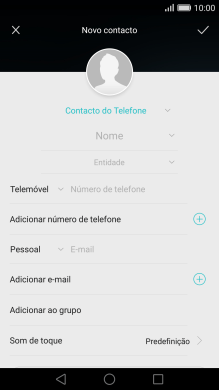
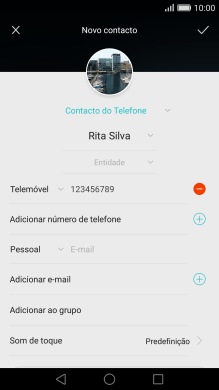
3. Escolha a lista de contactos
Prima a lista suspensa da lista de contactos.


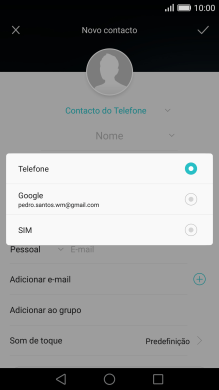
3. Escolha a lista de contactos
Prima Telefone.


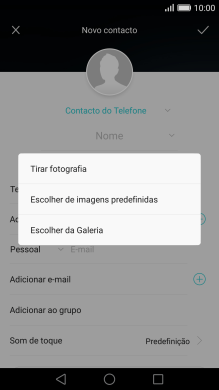
4. Adicione uma imagem
Prima o ícone de imagem.


4. Adicione uma imagem
Prima Escolher de imagens predefinidas e vá até à pasta pretendida.


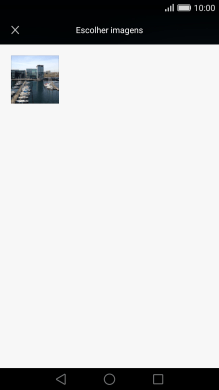
4. Adicione uma imagem
Prima a imagem pretendida.


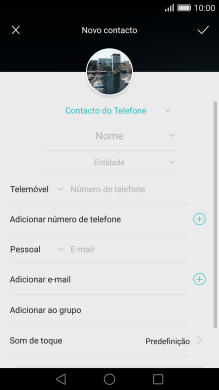
4. Adicione uma imagem
Arraste a moldura até à posição pretendida para escolher a secção desejada e prima o ícone para aceitar.


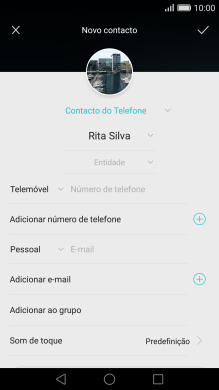
5. Introduza o nome
Prima Nome e introduza o nome.


6. Introduza o número de telefone
Prima Número de telefone e introduza o número de telefone pretendido.


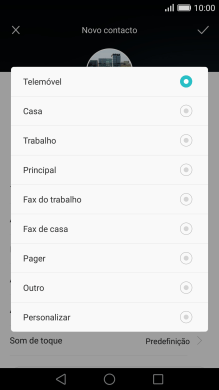
6. Introduza o número de telefone
Prima o tipo de número junto do número de telefone.


6. Introduza o número de telefone
Prima o tipo de número pretendido.
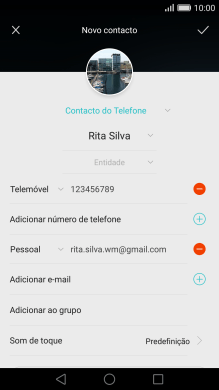
7. Introduza o endereço de e-mail
Prima E-mail e introduza o endereço de e-mail pretendido.


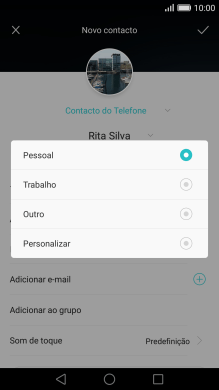
7. Introduza o endereço de e-mail
Prima o tipo de e-mail junto do endereço de e-mail.


7. Introduza o endereço de e-mail
Prima o tipo de e-mail pretendido.
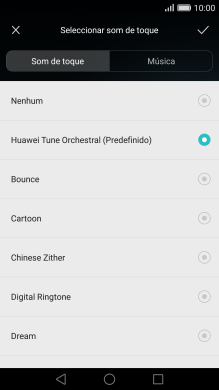
8. Adicione um tom de toque
Prima Som de toque.


8. Adicione um tom de toque
Prima a categoria pretendida.


8. Adicione um tom de toque
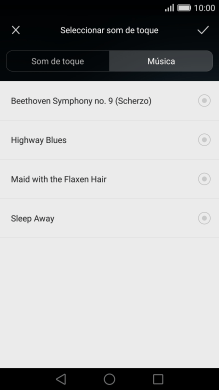
Prima os tons de toque pretendidos para os ouvir.


8. Adicione um tom de toque
Quando tiver encontrado o tom de toque que pretende, prima o ícone para aceitar.


9. Guarde o contacto
Prima o ícone para aceitar.
10. Volte ao ecrã inicial
Prima a tecla de início para terminar e voltar ao ecrã inicial.
1. Abra a lista de contactos
2. Crie um contacto
3. Escolha a lista de contactos
4. Adicione uma imagem


5. Introduza o nome
6. Introduza o número de telefone
7. Introduza o endereço de e-mail
8. Adicione um tom de toque

9. Guarde o contacto
10. Volte ao ecrã inicial