


1. Procure "Data e hora"
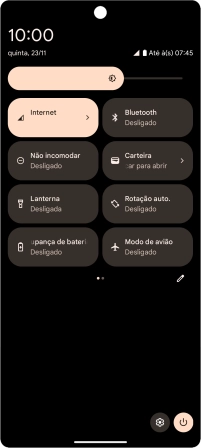
Deslize dois dedos sobre o ecrã de cima para baixo a partir do topo do ecrã.


1. Procure "Data e hora"
Prima o ícone de definições.


1. Procure "Data e hora"
Prima Sistema.


1. Procure "Data e hora"
Prima Data e hora.


2. Ative a definição automática da data e hora
Prima o indicador junto a "Definir a hora automaticamente" para ativar a função.


3. Ative a definição automática do fuso horário
Prima o indicador junto a "Definir o fuso horário automaticamente" para ativar a função.


4. Volte ao ecrã inicial
Para voltar ao ecrã inicial, deslize o dedo de baixo para cima a partir da base do ecrã.
1. Procure "Data e hora"


2. Ative a definição automática da data e hora

3. Ative a definição automática do fuso horário

4. Volte ao ecrã inicial
