


1. Procure "Usar código QR"
Prima Definições.


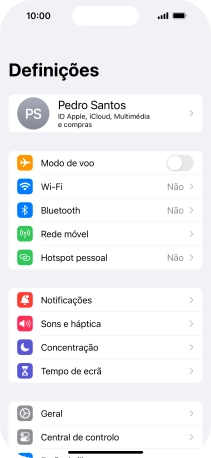
1. Procure "Usar código QR"
Prima Rede móvel.


1. Procure "Usar código QR"
Prima Adicionar eSIM.


1. Procure "Usar código QR"
Prima Usar código QR.


2. Scaneie o código QR
Para scanear o código QR enviado, enquadre-o na moldura da câmara do telefone.


3. Ative o eSIM
Introduza o código e prima Seguinte.


3. Ative o eSIM
Prima Continuar.


3. Ative o eSIM
Prima Continuar.


4. Selecione o plano predefinido para chamadas de voz e mensagens curtas
Prima o plano pretendido.


4. Selecione o plano predefinido para chamadas de voz e mensagens curtas
Prima Continuar.


5. Selecione o plano predefinido para iMessage e FaceTime
Prima o plano pretendido.
5. Selecione o plano predefinido para iMessage e FaceTime
Prima Continuar.


6. Selecione o plano predefinido para dados móveis
Prima o plano pretendido.


6. Selecione o plano predefinido para dados móveis
Prima o indicador junto a "Permitir troca automática" para ativar ou desativar a função.
6. Selecione o plano predefinido para dados móveis
Prima OK.


7. Volte ao ecrã inicial
Para voltar ao ecrã inicial, deslize o dedo de baixo para cima a partir da base do ecrã.
1. Procure "Usar código QR"


2. Scaneie o código QR

3. Ative o eSIM


4. Selecione o plano predefinido para chamadas de voz e mensagens curtas


5. Selecione o plano predefinido para iMessage e FaceTime

6. Selecione o plano predefinido para dados móveis


7. Volte ao ecrã inicial
