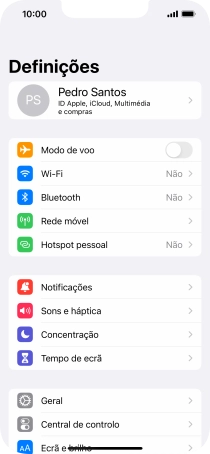
1 Procure "Data e hora"
Prima Definições.
![](http://wmstatic.global.ssl.fastly.net/ml/7121224-f-74f84933-2d88-494b-90ea-f8225eaca813.png?width=210&height=458)
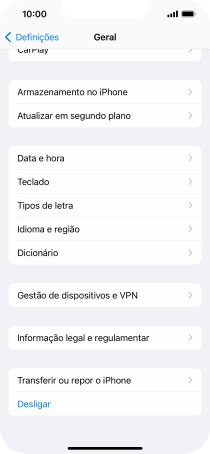
Prima Geral.
![](http://wmstatic.global.ssl.fastly.net/ml/7121224-f-fe9b1ac9-6d57-466b-ac22-79493613739c.png?width=210&height=458)
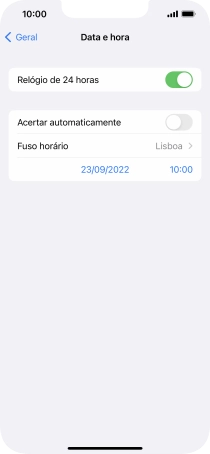
Prima Data e hora.
![](http://wmstatic.global.ssl.fastly.net/ml/7121224-f-ea0dd859-1fe9-454b-941a-565809fd123c.png?width=210&height=458)
2 Ative a definição automática de fuso horário, hora e data
Prima o indicador junto a "Acertar automaticamente" para ativar a função.
![](http://wmstatic.global.ssl.fastly.net/ml/7121224-f-1216b18c-e41b-4e4e-b57f-0dce5fb7e69e.png?width=210&height=458)
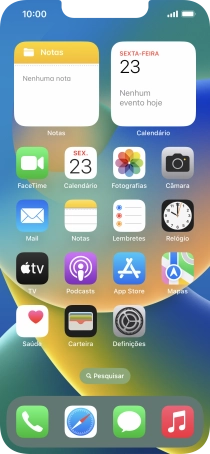
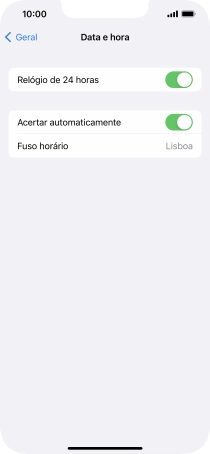
3 Volte ao ecrã inicial
Para voltar ao ecrã inicial, deslize o dedo de baixo para cima a partir da base do ecrã.
![](http://wmstatic.global.ssl.fastly.net/ml/7121224-f-4f44cdcb-ea03-4e01-a753-9609fcf547d4.png?width=210&height=458)